Rolltop Desk, part 2
April 30th, 2024
Contents
Where we left off:
The prep work is done! I've worked through the lower grits of sand paper and deglosser; now to the fun parts. FYI--I wrote portions of this with ChatGPT. It was mostly correct in how to handle a project like this, but I'm giving it some extra flavor and context.
Materials Needed:
- Sandpaper (various grits from 60 to 400)
- deglosser (liquid sandpaper) for those tough to reach spots
- Stain (oil-based in my case)
- oil based polyurethane
- mineral spirits
- Brushes or rags for staining
- Clean cloths
- Protective gloves and eyewear
Step 1: Preparation
The Robot: Before starting, ensure you’re working in a well-ventilated area. Clean your desk thoroughly with wood cleaner to remove dust and grime. Once clean, begin sanding with 60-80-grit sandpaper, focusing on smoothing out rough areas and removing the old finish. Always sand in the direction of the wood grain to avoid scratches.
Me: I don't always manage to sand in the same direction--and it mars the surface in those locations. You'll find out how great your sanding was (or how poor it was, in my case) when the stain is applied. This step also takes the longest--the rest of the grits are easy enough to work through by comparison. The bulk of the sanding work is done on the lower grits during stain removal. This is where the deglosser can come in handy as well.
Step 2: Sanding
Me: Move to finer grits of sandpaper (120 to 220) to smooth the wood further. 220 is where I stop before applying stains and finishes.
Step 3: (optional) Applying Wood Conditioner
Robot: This step is essential if you're working with softwoods like pine, which tend to absorb stains unevenly. Apply a coat of wood conditioner according to the manufacturer’s instructions; this will help ensure a uniform absorption of the stain.
Me: The table I'm working on is made out of oak--wood conditioner was unnecessary, and I like the look that uneven stain absorption creates.
Step 4: Staining
Robot: Choose your stain based on the desired color and type of wood. Apply the stain using a brush or rag, working in manageable sections. Rolltop desks often have small, intricate areas, so take your time to cover these thoroughly. Wipe away excess stain with a clean cloth, again following the grain of the wood. Allow the stain to dry completely, as per the stain instructions, usually overnight.
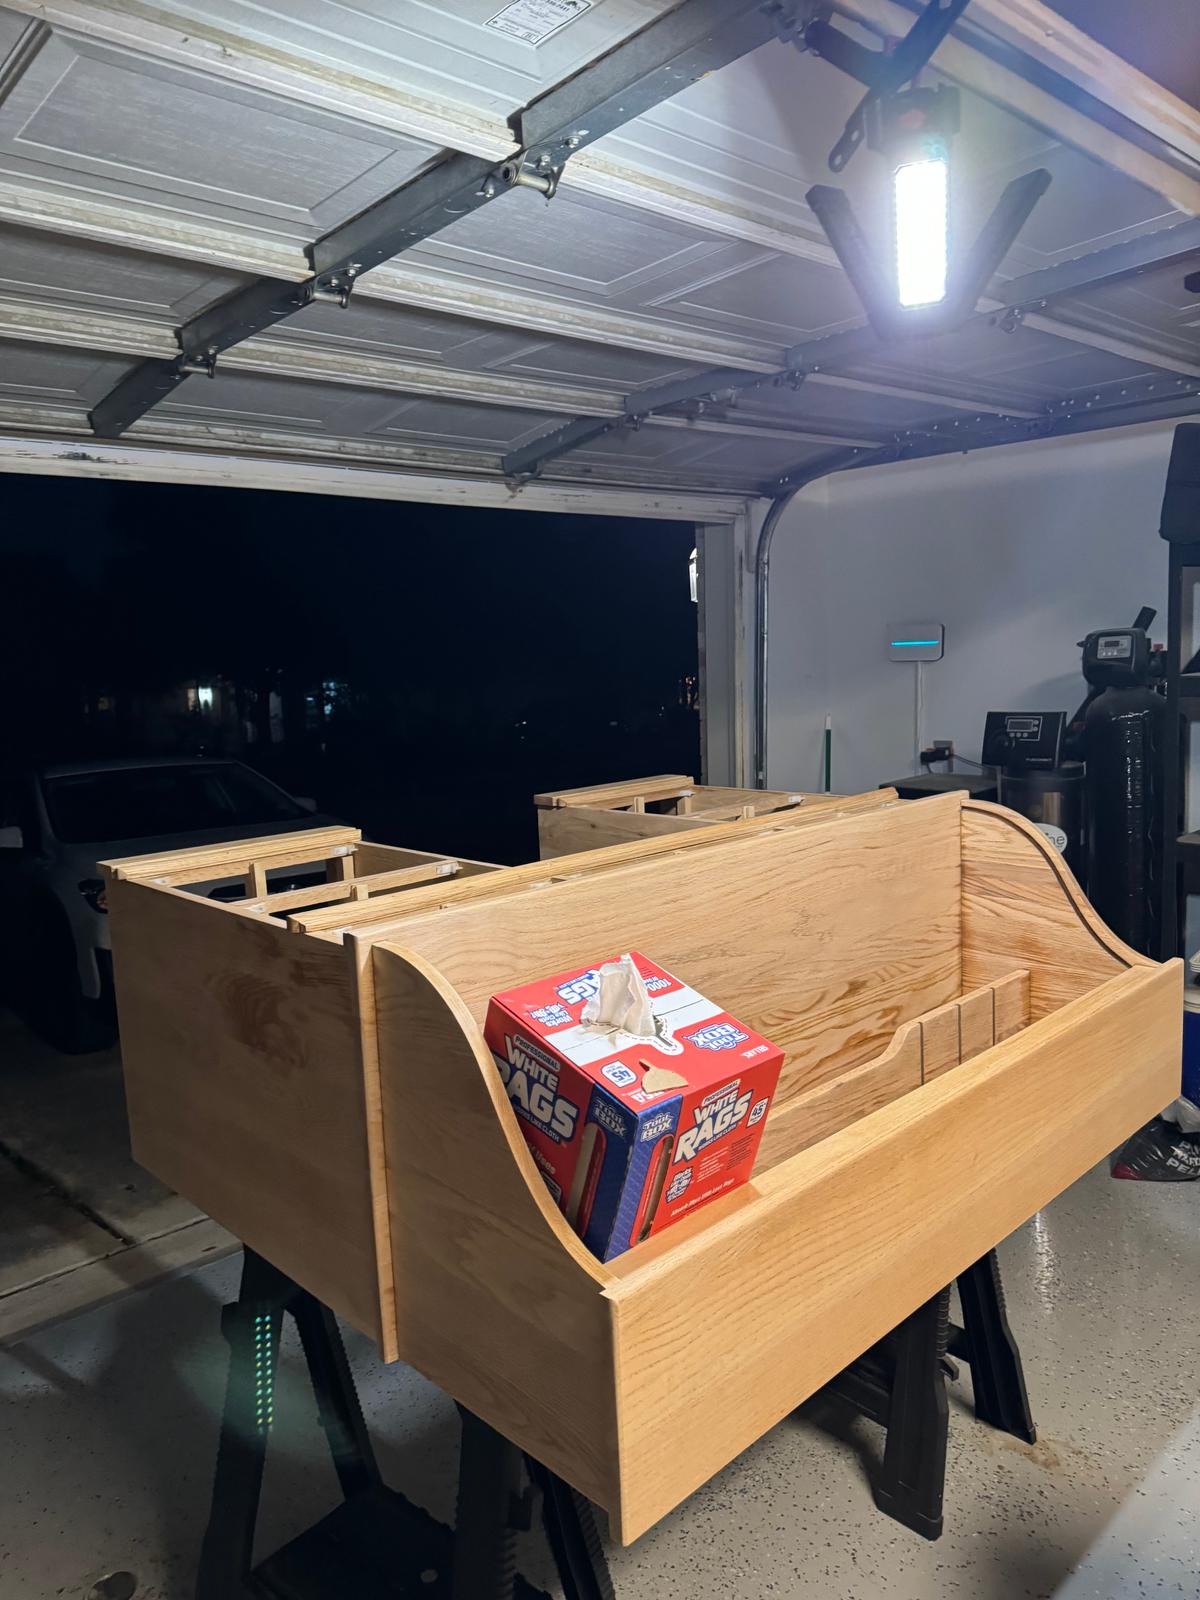
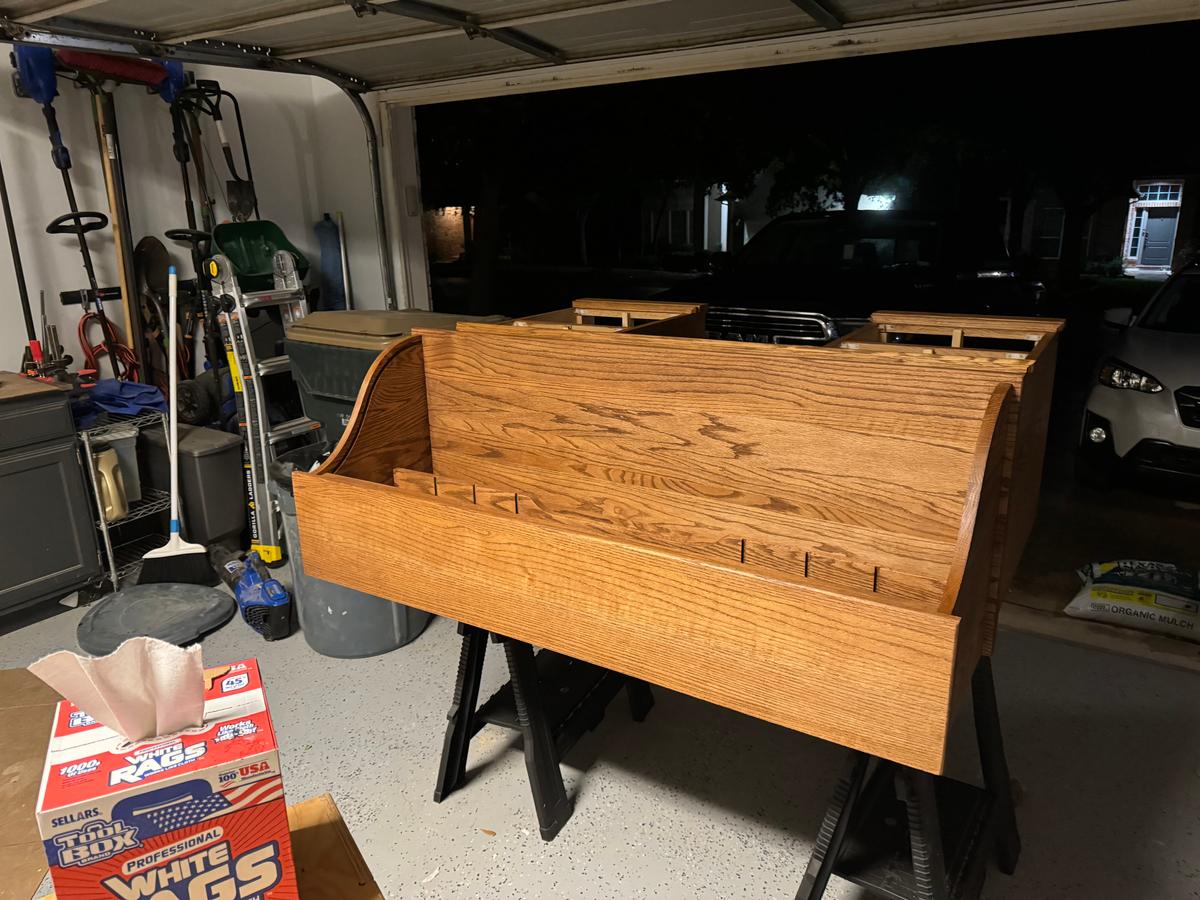
Me: I use disposable rags to apply stain--red oak for this project. Work stain in small sections--too big and the stain gets splotchy and uneven. One rag holds the stain, and another wipes up the excess. Use gloves and wear clothes you don't care about for this and the following steps!
Here's what that looks like:
Next time
We apply finish and those final touches!